How to Use a Disposable Camera for the Best Results
Share
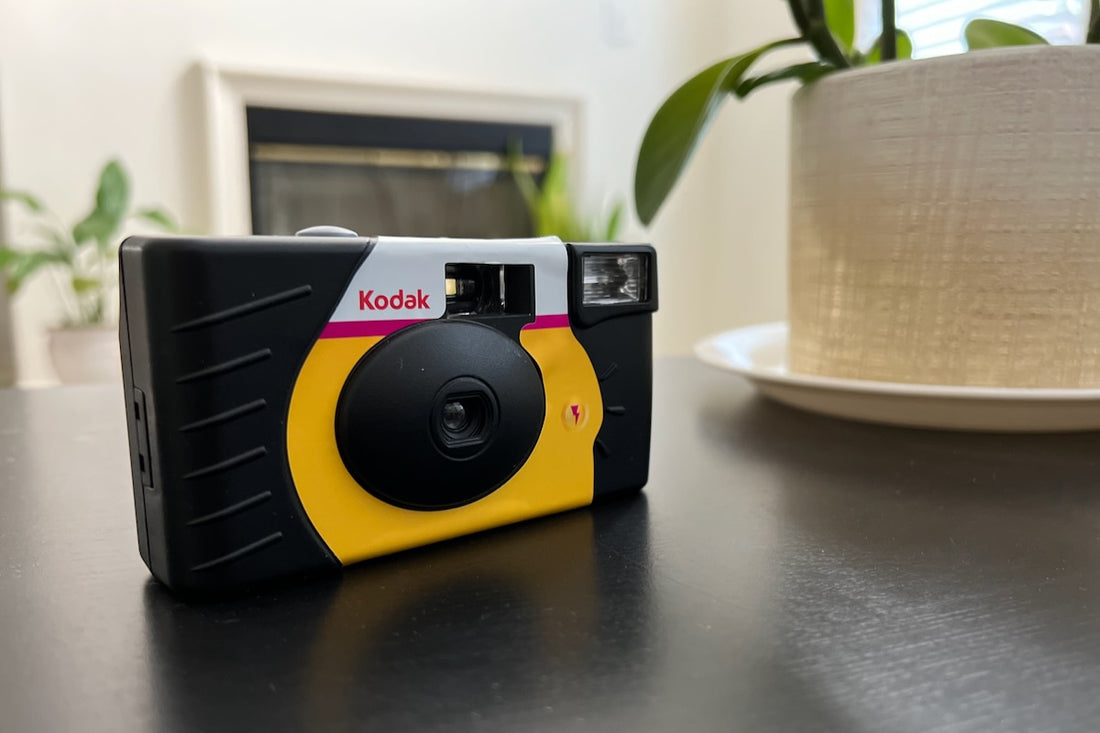
Disposable cameras are a great way for capturing images. They have a beautiful grain and unique quality that can’t be matched by today’s digital cameras. Although they’re capable of making Instagram-worthy shots, there are some things you should know about them before clicking away your next roll.
Here are 8 tips to help you vastly improve the quality of your shots and prevent some common mistakes.
1. Watch the finger.

It’s so easy to cover the lens of your camera. Since disposable cameras have a separate viewfinder and lens, you won’t see your finger covering the lens.
You’ll find out when you pick up your processed images at the lab. Some images will have a strange blurry artifact that’s blocking half or most of your frame.
2. Use the flash when you’re inside a room or out in the dark at night.

Not using the flash is the most common mistake made by photographers. When it comes to film it’s always better to err on the side of overexposure.
More light is better than not enough. The lab can always get more out of an overexposed shot than an underexposed shot. When you don’t get enough light on your film, your pictures will come back dark and overly grainy.
3. Make sure your flash is fully charged before using it.

Press down on the button with the lightning symbol or slide the flash button up on other models.
You’ll hear a high-pitched sound as the flash charges. In about 5 seconds a small red light on top of the camera will turn on and tell you that your flash is ready.
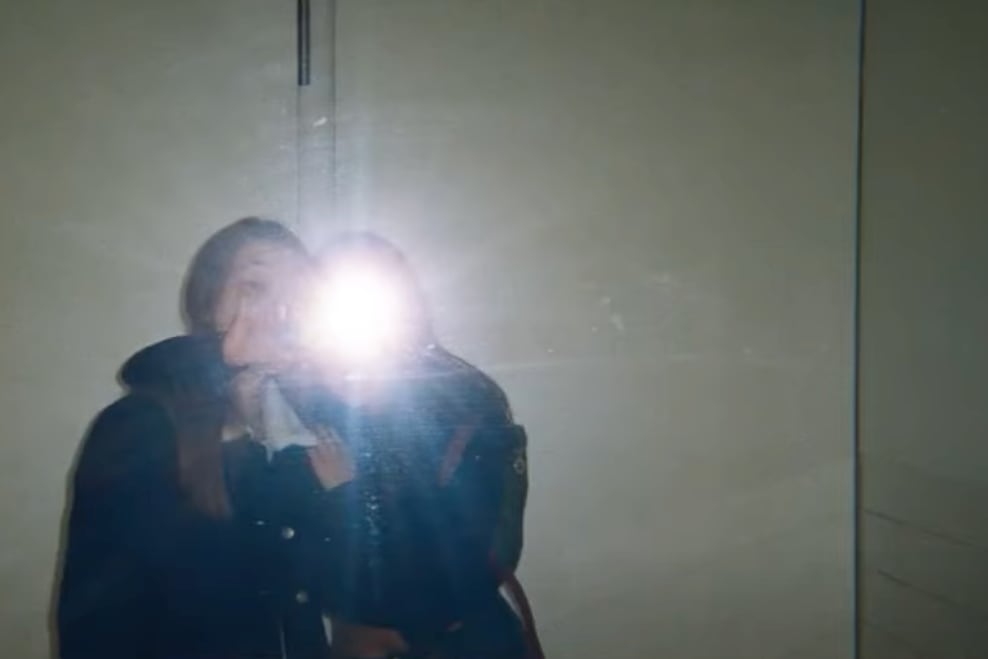
4. Don’t use the flash for mirror selfies.

Your hot pose will come back a glaring white light that floods out everything around the blinding flash. If you’re shooting a mirror selfie, do everything you can to bring more light into the room. Turn on all the lights and open up the blinds.
5. Remember to advance the film in the camera after your last shot.
This way your camera is always ready to shoot when that perfect moment comes. There’s nothing as frustrating as losing that perfect shot when you quickly pull out your camera and the shutter doesn’t click.
You advance your film by turning the scroll wheel to the right with your thumb. Make sure to turn the wheel until it doesn’t move anymore. Your camera won’t take a picture until you do this.
The only downside is the possibility of accidentally triggering a shot if your camera is bumped around in your bag. If you’re rough with your stuff, you’ll want to reconsider this.
6. Keep your distance.
Since disposable cameras use fixed lenses, you’ll need to frame your shots by moving to an ideal distance from your subjects. The sweet spot is between 4 to 15 feet.
This is also crucial when you’re shooting at night. If you’re too far away from your subjects, the light from the flash won’t be able to reach them.
7. Check how many frames you have left.
Most disposable cameras come with 27 exposures. To see how many pictures you can take, look at the top of the camera next to the shutter trigger. You’ll see a small dial with a number. This number will tell you how many frames you have left.
8. Get your film developed at a reputable lab.
You don’t want to trust your memories with anybody. Pharmacies are not a good place to drop off your film. They tend to take a long time and the quality is generally subpar.
A good lab will use fresh high-quality chemicals and reliable equipment to process your film properly and to get the most accurate color. They will also employ experienced technicians who have an eye for color.
Unlike digital cameras, disposable cameras don’t automatically correct color or adjust exposure. If you shot images on your iPhone, you probably used an app to adjust the colors and exposure to make your images presentable.
A film camera doesn’t have this ability. Thus, you’re relying on the lab to make these adjustments for you. Getting your images color corrected and optimized by the lab is a time saver and a great added value of using a good film processing lab.